 |
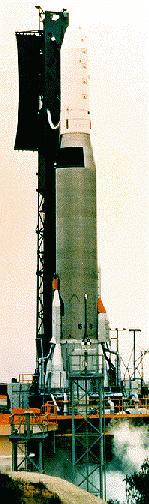
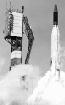
Atlas F Atlas F - COSPAR 1979-057
File Name: atlasfj.jpg. Image width: 149 pixels. Image height: 504 pixels. Image size: 21,201 bytes. |
 |
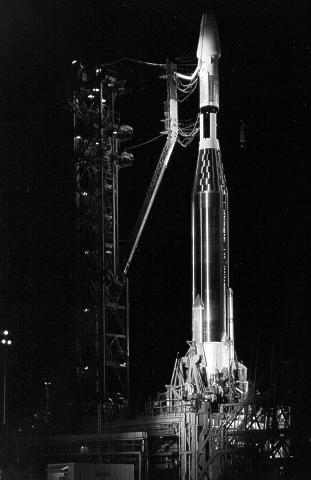
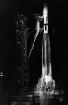
Atlas G Atlas G - COSPAR 1989-077
File Name: atlasg.jpg. Image width: 126 pixels. Image height: 448 pixels. Image size: 14,422 bytes. |
 |
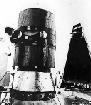
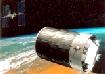
Atlas manned lab File Name: atlasmol.jpg. Image width: 409 pixels. Image height: 163 pixels. Image size: 19,372 bytes. |
 |
Atlas V Cutaway File Name: atlasvct.jpg. Image width: 169 pixels. Image height: 457 pixels. Image size: 17,001 bytes. |
 |
Atlas Burner 2A Atlas Burner 2A - COSPAR 1972-076
File Name: atlbrn2a.jpg. Image width: 307 pixels. Image height: 490 pixels. Image size: 27,650 bytes. |
 |
Atlas Centaur C Credit: © Mark Wade. File Name: atlcenc.gif. Image width: 68 pixels. Image height: 437 pixels. Image size: 2,139 bytes. |
 |
Atlas Agena Atlas Agena / Ranger C launch vehicle
File Name: atlrangc.jpg. Image width: 311 pixels. Image height: 480 pixels. Image size: 19,961 bytes. |
 |
Atrium Spacedock The "Atrium" spacedock would also have utilized the same type of modules and structures as Space Station Freedom.
Credit: NASA via Marcus Lindroos. File Name: atrium11.gif. Image width: 466 pixels. Image height: 480 pixels. Image size: 19,261 bytes. |
 |
ATS-1 Credit: NASA. File Name: ats1.jpg. Image width: 244 pixels. Image height: 319 pixels. Image size: 15,206 bytes. |
 |
ATS-2 Credit: NASA. File Name: ats2.jpg. Image width: 256 pixels. Image height: 294 pixels. Image size: 17,820 bytes. |
 |
ATS-6 Credit: NASA. File Name: ats6.jpg. Image width: 332 pixels. Image height: 348 pixels. Image size: 24,501 bytes. |
 |
ATV Credit: ESA via Marcus Lindroos. File Name: atv.jpg. Image width: 600 pixels. Image height: 600 pixels. Image size: 61,612 bytes. |
 |
ESA ATV 1993 ESA Automated Transfer Vehicle - 1. Cutaway drawing of the Automated Transfer Vehicle (1993). Early studies focused on a modified version of the Ariane-5's L9.7 upper stage -- the "ARIES" concept -- but by 1992 the European Space Agency had decided a custom-built propulsion module (top left) would be more efficient. Credit: ESA via Marcus Lindroos. File Name: atv93.jpg. Image width: 625 pixels. Image height: 475 pixels. Image size: 58,794 bytes. |
 |
ESA ATV 1996 ESA Automated Transfer Vehicle - 1. The Automated Transfer Vehicle rendezvouses with the International Space Station in this 1996 drawing.
Credit: ESA via Marcus Lindroos. File Name: atv96.jpg. Image width: 640 pixels. Image height: 449 pixels. Image size: 47,466 bytes. |
 |
ESA ATV 1999 ESA Automated Transfer Vehicle - 2. Automated Transfer Vehicle approaching the International Space Station. This is how the final, operational ATV will look.
Credit: ESA via Marcus Lindroos. File Name: atv99es.jpg. Image width: 640 pixels. Image height: 371 pixels. Image size: 55,054 bytes. |
 |
ESA ATV ESA Automated Transfer Vehicle - 2. Ariane-5/Automated Transfer Vehicle orbit insertion. This illustration shows how the ATV payload fairing is jettisoned shortly before the spacecraft separates from its Ariane-5 booster.
Credit: ESA via Marcus Lindroos. File Name: atvar5.jpg. Image width: 640 pixels. Image height: 456 pixels. Image size: 43,070 bytes. |
 |
ESA ATV DASA ESA Automated Transfer Vehicle - 1. Alternate Automated Transfer Vehicle concept (DASA). The European Space Agency also considered using the Ariane-5/ATV to launch the Columbus laboratory.
Credit: ESA via Marcus Lindroos. File Name: atvdasa3.jpg. Image width: 320 pixels. Image height: 211 pixels. Image size: 14,385 bytes. |
 |
ESA ATV and ISS ESA Automated Transfer Vehicle - 1. By 1997, ESA had decided to use solar panels to produce additional power for the Automated Transfer Vehicle.
Credit: ESA via Marcus Lindroos. File Name: atvtoiss.jpg. Image width: 424 pixels. Image height: 480 pixels. Image size: 48,769 bytes. |
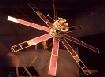 |
AUOS AUOS model exhibited at Urkaine Pavillion, Hannover Expo 2000.
Credit: © Mark Wade. File Name: auosexpo.jpg. Image width: 532 pixels. Image height: 390 pixels. Image size: 28,837 bytes. |
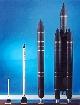 |
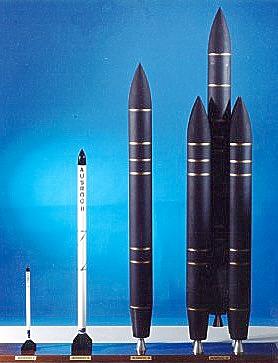
Ausroc Ausroc Launch Vehicle Configurations
File Name: ausrocm.jpg. Image width: 278 pixels. Image height: 363 pixels. Image size: 18,523 bytes. |
 |
Australia Credit: © Mark Wade. File Name: austrflg.gif. Image width: 32 pixels. Image height: 20 pixels. Image size: 186 bytes. |
 |
AXAF Credit: NASA. File Name: axaf.jpg. Image width: 329 pixels. Image height: 180 pixels. Image size: 14,526 bytes. |
 |
B2C/MA-1/MA-2 Credit: Boeing / Rocketdyne. File Name: b2ma1ma2.jpg. Image width: 167 pixels. Image height: 205 pixels. Image size: 9,398 bytes. |
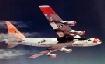 |
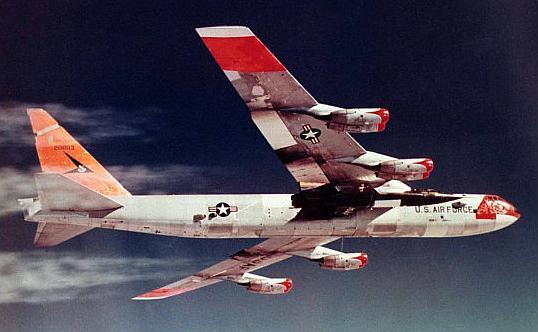
NB-52 NB-52 rocketplane launcher with X-15
Credit: NASA. File Name: b52x15.jpg. Image width: 538 pixels. Image height: 332 pixels. Image size: 29,098 bytes. |
 |
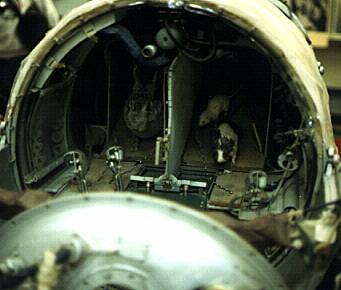
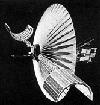
Space bunny Sounding rocket capsule with rabbit and hamster payload
Location: Baikonur. Credit: © Mark Wade. File Name: babunny.jpg. Image width: 341 pixels. Image height: 290 pixels. Image size: 18,438 bytes. |